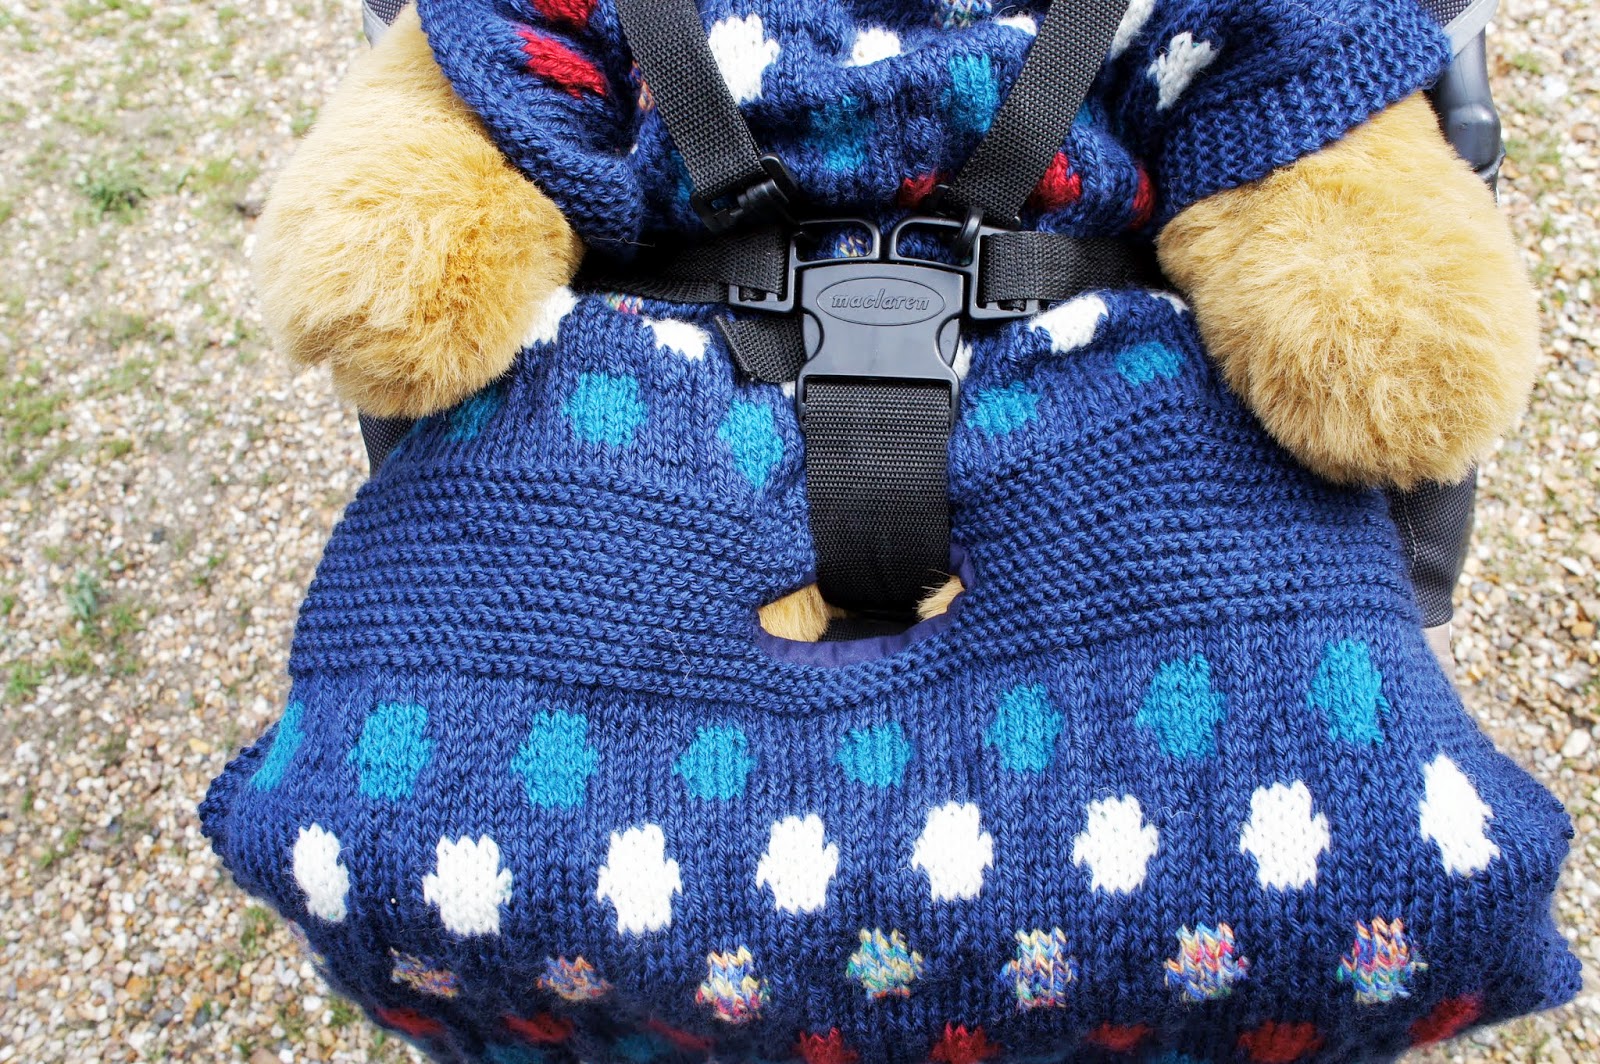
I designed and knitted a car seat/buggy blanket, which I am happy to share with you now. Do you like my model? Meet Bob, he's been with me for some time.


This is a very simple, quick knit, using Aran weight yarn and 5mm needles. I used Carons Simply Soft Solids which I bought on my recent trip to the USA as the main yarn and just oddments for the spots.
Cast on 96 stitches
Work 6 rows garter stitch (all knit) for top border
Work 68 rows in your chosen pattern working the first and last 6 stitches in garter stitch on every row to create the side borders
Work 10 rows in garter stitch
Next row K41, cast/bind off 14 stitches, K41
Next row K41, cast on 14 stitches, K41 - this creates the opening for the buckle
Work another 8 rows in garter stitch making 20 rows in all
Work a further 68 rows in your chosen pattern working the first and last 6 stitches in garter stitch as before
Then finally another 6 rows in garter stitch for your bottom border
As I said, you can use any stitch/pattern you want for the main part - 84 stitches. I chose spots which I made thus - working in stocking stitch - so all Knit on front and Purl on reverse, keeping the borders in garter stitch
Stocking stitch 2 rows after top border
K7 in main yarn, K3 in contrast repeat to end of row.
Repeat row again (purl)
K5 (main), K5 (contrast), repeat to end of row
Repeat row again (purl)
K7 (main), (K3 contrast)
Repeat row again (purl)
Stocking stitch 2 rows
K2 (main), * K3 (contrast) K7, * repeat to end
Repeat row again (purl)
K1 (main), *K5 (contrast) K4, * repeat to end
Repeat row again (purl)
K2 (main), * K3 (contrast) K7, * repeat to end
Repeat row again (purl)
These 16 rows complete the spot pattern
I chose to line my blanket for extra stability.
NB: If you choose to make this pattern, I take no responsibility for any errors contained there in.
What a great idea for the cooler weather! I love the dots, and your handsome model :)
ReplyDeleteI didn't realise this was your own pattern - its lovely, and it looks perfect! I love the fabric backing and edging!
ReplyDeleteWhat a brilliant idea! And putting the fabric on the back was also brilliant. You have very lucky grandchildren. :-)
ReplyDeleteLove this idea. I have been looking for a pattern just like this.
ReplyDeleteThank you for a beautiful pattern. Can't wait to give it a try. Give your model a hug for me!
ReplyDelete